


Guy/gals, this isn't about the fidelity or how great the graphics are 'in game' this is about the freedom the user has to express himself with photo mode. There are a hell of a lot of pictures that are just screenshots, but then there are some that clearly express something personal to the user.
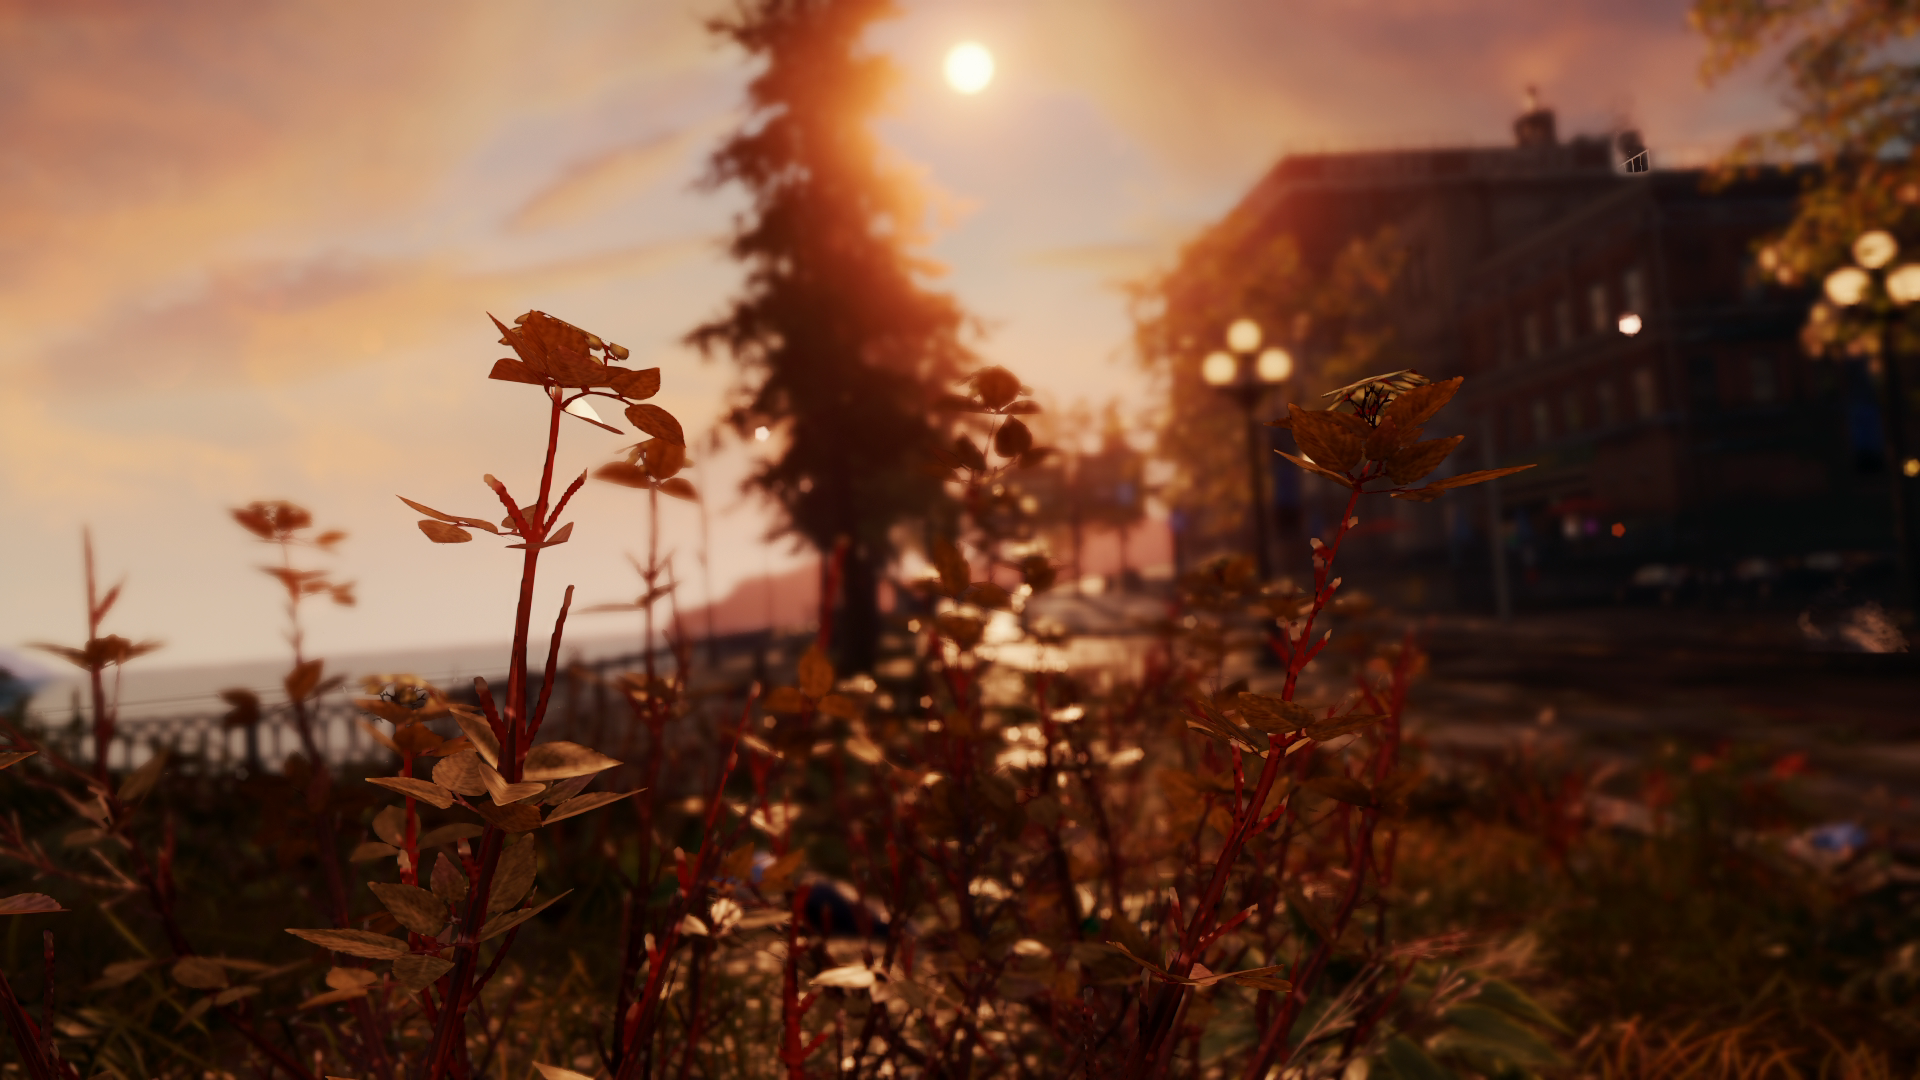
These two, for instance, shows craft and an understanding of photography but it has absolutely nothing to do with just a screenshot to show off the game. This is about composition:

Here is another that, again, has nothing to do with showing off the game. The 'photographer' clearly has intentions beyond trying to impress graphically:
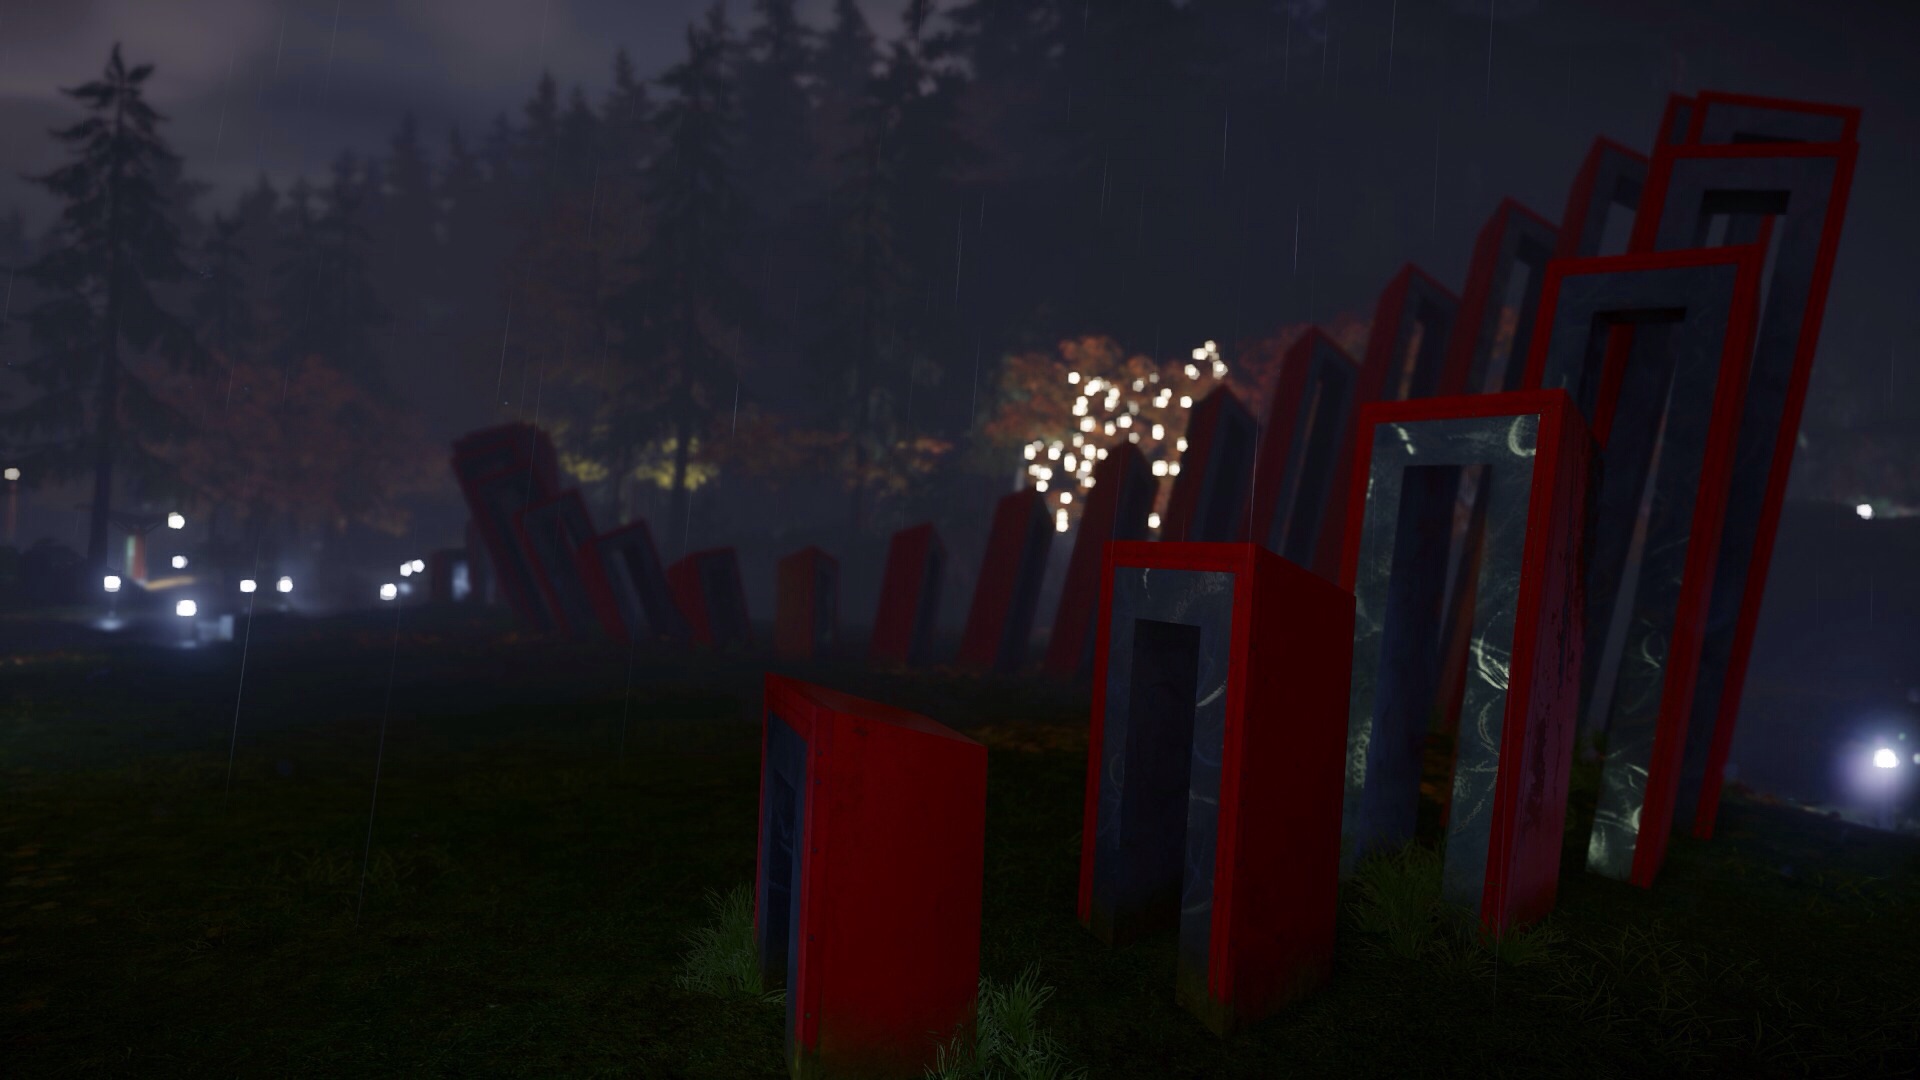
Here's one the user actually titled 'Requiem' and again is clearly trying to accomplish something that goes beyond the game:
And here's a post from a Photographer on Gaf explaining some of the rules of photography so that people can improve:
Here are a few tips:
1. For composition, think of your screen as if it was divided into nine tiles. Like this:

Try to position the horizon or objects on the lines. This is the most basic composition advice for photography. It's called "Rule of Thirds". Also try to rotate the picture (while doing the "camera orientation, press L1/R1) to either get a perfectly horizontal background or a perfectly vertical object in the foreground. This can be quite hard if you're using a high FoV since the Photo Mode in infamous has no option for lens correction. Of course there are many different ways to compose your picture.
2. Understand how Anisotropic Filtering works. AF is used to sharpen the textures when you look at them with a very sharp angle. Textures will be sharpest when you look at them with an angle of 90 degrees, but that will seldom allow for a nice picture. For example when you move your camera to the ground to get a nice shot from below, you'll either want to blur out or focus the ground textures by adjusting the Depth of Field in Photo Mode.
3. To perfectly adjust your Depth of Field I recommend setting the Focal Length to a very, very low value (it's the "f + number" thingy in the DoF settings, by pressing L1/R1, for example "f3") and then use the left analog stick do place the focus on the object or the spot that you want to have as sharp as possible. After that you can press L1 or R1 again to perfectly adjust the DoF of the scene and the one object or the one spot will be perfectly focused. A nicely set Focal Length will sharpen textures no matter the viewing angle.
The PS5 Exists.
